 A finished colby cheese with red wax.
A brief rundown of making colby cheese at home... with a very simple homemade cheese press. Colby is a great, and fairly simple, pressed cheese to make at home. It could be the perfect gateway cheese!
Ingredients and Equipment
- 2 gallons whole milk (must NOT be ultrapasteurized - but regular pasteurization is ok)
- Mesophilic bacterial starter (C101 type)
- 1 cup unchlorinated water
- rennet
- cheese salt
- cheese wax
- large stock pot
- colander
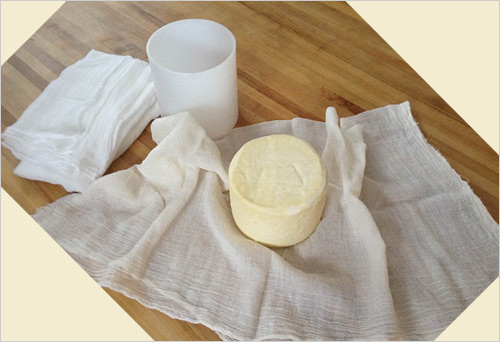
- butter muslin
- cheese press
- cheesemaking thermometer
- long spoon for stirring
- long, thin knife to cut the curds
- small pot for dedicated cheese wax use
- food grade brush for dedicated wax application
Clean and Sterilize
Clean and sterilize (as much as possible) your pot and utensils. I get the stock pot as close to sterile as possible by boiling a small amount of water in the bottom with the lid on for about 10 minutes. Without a high pressure environment, like an autoclave, it's not possible to get your equipment 100% sterile. But, this will get it pretty close.
Heat treating your stirring spoon and curd knife would be a good idea, too. There will always be bacteria and fungi floating through the air that will land in your milk, but the idea is to out-compete these natural microbes with the ones you'll be adding a little later.
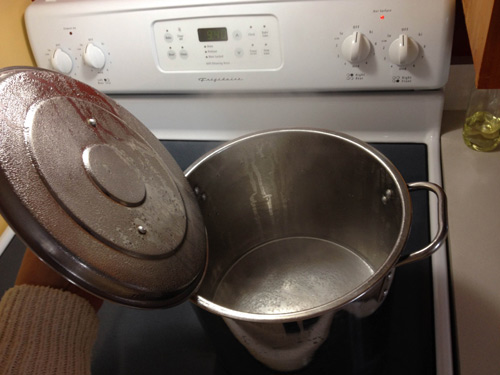 Start with a large enough stainless steel or enamal pot.
Steps to Good Curd Formation
For pictures of heating the milk, setting it, and cutting the curd please refer to Making Feta Cheese. This part of cheese making is pretty much the same for all cheeses (that I know of).
Bring the 2 gallons of whole milk to 86°F at a gentle pace. I have found that heating the milk too rapidly often causes the cheese to shrink during the aging process, leaving a fair bit of whey between the cheese and wax. This also seems to make the cheese drier and more crumbly in texture.
Add the C101 mesophilic starter and gently stir into the milk. With the cover on let the milk ripen for about 1 hour. You can add yellow cheese coloring at this time, if you like (4 drops diluted in 1/4 cup of unchlorinated water).
After an hour check to make sure the temperature has stayed close to 86°F, and add a little heat if it's fallen. Then add the rennet to coagulate the milk. So far I've only used liquid animal rennet, so if you'd like to try a different kind (there's "vegetarian" rennet, as well as rennet tablets) consult a cheesemaking book. For liquid rennet dilute 1/2 teaspoon in 1/2 cup of chlorinated water before adding it to the milk. Stir in the rennet thoroughly and gently for 1 minute.
Let the milk stand another half hour, or until the curd gives a clean break. This means that when you gently cut a small slice into the top of the milk and push it aside there will be a clean difference between the coagulated milk and clear whey next to it. If the whey is not yet clear let it set another 10 minutes and check again.
At that point you can cut the curd with a specialty curd knife, or a simple long and thin kitchen knife. A very long and thin bread knife works great for me. Cut back and forth until you get about 1/2" cubes. Stir the curds gently for a few seconds, then let sit for about 5 minutes.
Then gently heat the curds to 102°F, raising the temperature by about 2 degrees every 5 minutes. Being that precise with the heating probably isn't critical, but the point is to do it slowly enough not shock the milk proteins. Stir every few minutes during this process. Once it reaches 102°F let it sit for another half hour, occasionally stirring gently.
Washing the Curds
After sitting for half an hour you'll see the curds further contract and settle toward the bottom, leaving a significant amount of whey at the top. Gently pour off about half of the whey (save it for making ricotta later), down to the level of the resting curds.
Add cold, unchlorinated water (about 60°-ish) to the curds to bring their temperature down to 80°F. Let them rest in this 80° environment for about 15 minutes, stirring occasionally to break up any matting curds.
Now pour the cooled curds into a muslin-lined colander. Let gravity drain the majority of the whey out (about 20-30 minutes).
Salting and Packing
Transfer the now-drained curds to a large bowl and add 2 tablespoons of cheese salt (I've been using finely ground sea salt with great effect).
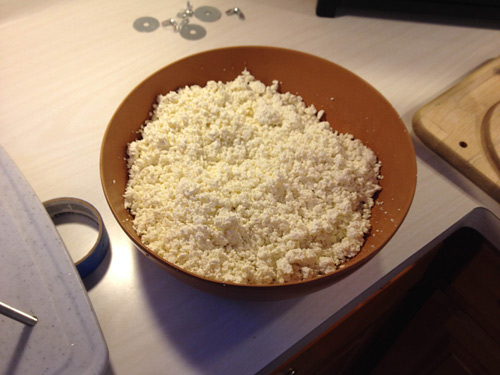 A large, flat bowl makes an excellent container for hand mixing the salt into the curds.
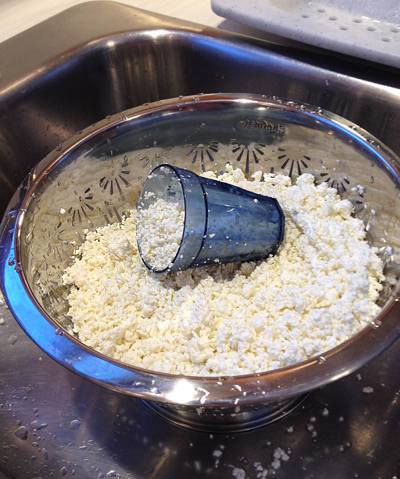 I moved the salted curds back to the colander in case they have any more draining to do while I scoop them into the press. The little blue juice glass is just the right size to transfer curds to the press, a little at a time.
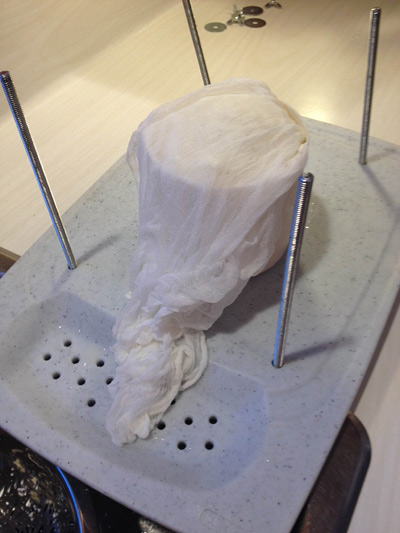
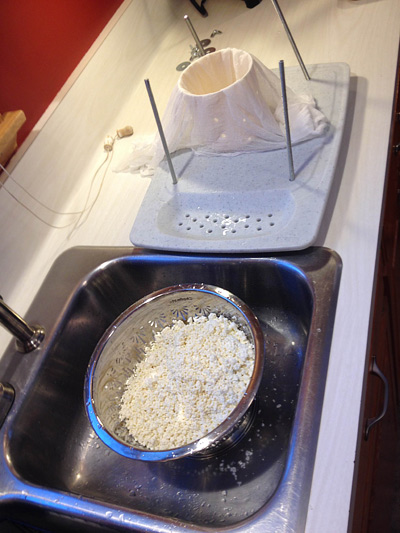 The home made cheese press is set up and waiting for the curds. Placing it right next to the sink is helpful.
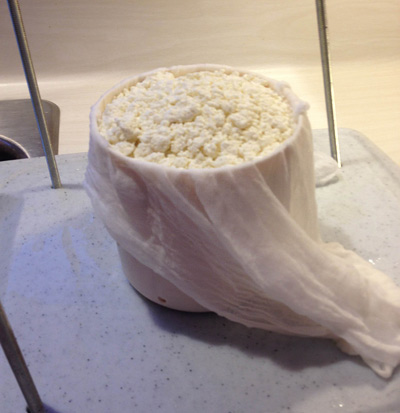 All the curds are now packed into the cheese mold.
 The butter muslin fabric is folded over the top of the curds.
I fold it toward the sink because whey will wick down the fabric.
Learned that one the hard way!
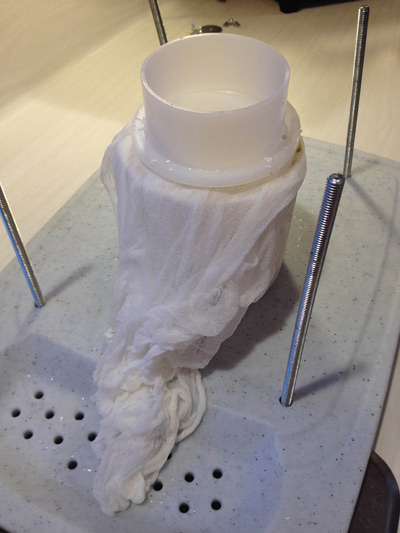 Positioning the follower on top of the curds. The top board comes next.
Pressing the Cheese
The instructions for colby (and for any cheese, really) involves a lot of precise timing and precise weight pressures in pressing the cheese. I only follow them roughly and my cheeses have been turning out fine. If, however, you'd want to earn a cheesemaking license and start producing cheese on a commercial basis then those times and pressures should be followed more precisely. Then you'll end up with a more consistent product.
In researching how to make a cheese press I ran across a great resource at Instructables! The basic design is so easy all you need is a power drill, 2 cutting boards of roughly the same size, 4 very long bolts, 4 wing nuts, and 8 fender washers. The instructions also included making the cheese mold from a cut down water pitcher (which I tried once), but decided to buy that one part commercially. I now can't find that original Instructables, but if you Google some variation of "how to make a cheese press" you'll come up with some unique ideas. I might buy a "real" cheese press some day, but for now my home made version is working just great.
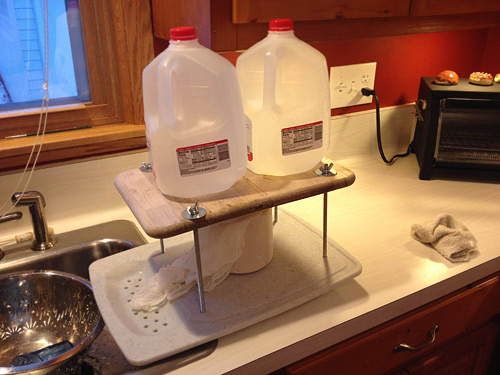 The 2 empty gallon jugs now serve as water weights for the first few hours of pressing.
The basic formula for pressing a cheese is to unpack it and turn it over every couple hours, increasing the weight a bit each time. The final pressing is overnight for about 12 hours. Then, the next morning...
 The next morning the cheese is unwrapped.
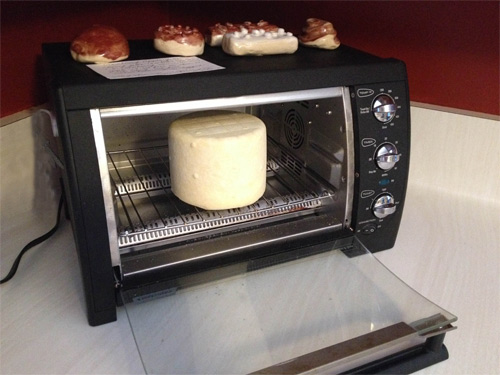 Setting it in the open, COLD toaster oven for an hour gives the surface a chance to dry a bit before waxing it. (On the top are ceramic donuts from my son's art class.)
Melting the cheese wax is a little tricky. I opted to try a double-boiler type set up, mostly because I'm afraid of heating the wax directly on the burner. It IS a combustable product after all. This is simply a smaller, dedicated pot for the wax, and a slightly larger pot for the hot water. You don't want the water to be at a rolling boil, but just hot enough to keep the wax flowing very thinly when brushed on.
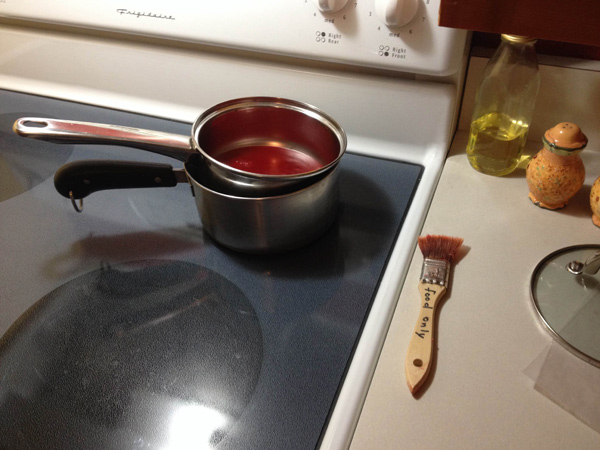 Keep your cheese wax in its own pot, and keep adding wax as needed. Don't even bother trying to clean it out! Same goes for the brush. That waxing brush will only have one job for the rest of its life.
Because I like to keep the wax at a high enough temperature to make it easily brushable I end up putting on 2 thin coats. Putting on a second coat also gives you a chance to look over the cheese and cover any missed spots from the first pass. I add the date with a sharpie pen.
The finished, waxed cheese! With date stamp.
Aging the Cheese
Generally, cheesemaking instructions say to age colby for 2-3 months at 50°F. Frankly, I can't wait that long! After 4-6 weeks I usually have to break into it because my taste buds just can't wait any longer. Yes, it's not perfectly like commercial colby. But, what would be the point of that?
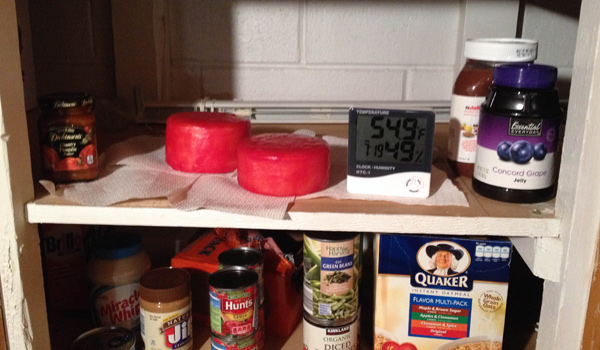 The "cheese cave" in the basement. A simple temperature and humidity gauge give you a
rough idea of what it's like inside the cabinet.